Proxmox LXC: from unprivileged to privileged
If you just want the answer without reading the whole page, then just click this link.
Keep in mind that it may not always be possible, or may be faster to just create new LXC.
what is that?
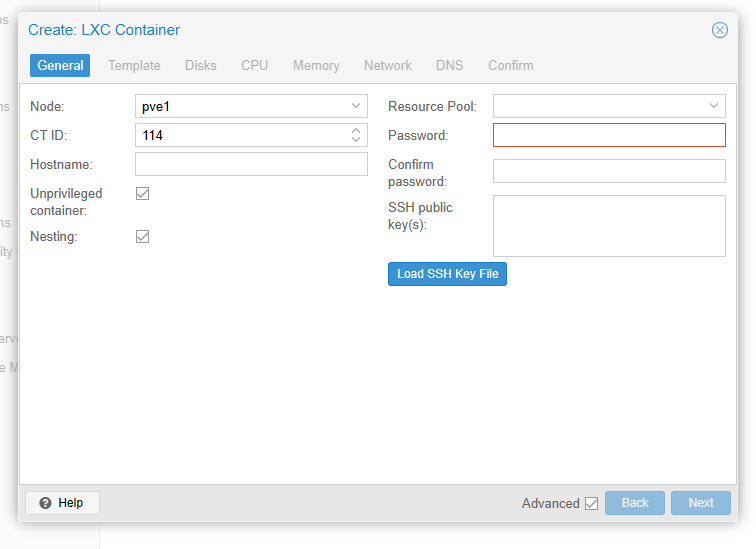
When you set up new LXC container in Proxmox it will ask you what type of container you want - unprivileged (default) or privileged.
This option is quite easy to miss and you will probably notice that you forgot about it when something doesn’t work, or gives you strange errors.

what is the difference
The difference between unprivileged and privileged containers is quite simple.
First of all think of the containers as a way of isolating the operating system from whatever runs in it. Kind of like VMs, but with less overhead.
Privileged and unprivileged containers are just a way of deciding how much access to the underlying resources the container should get.
changing it after LXC was created
You can’t change it in the UI, however you can do it by editing a config file located in /etc/pve/lxc/XYZ.conf where XYZ is the id of your LXC.
Just SSH into your proxmox node and take a look.
So far so good, however after you restart your VM, you may notice that it gives you strange errors. Even when logged in as a root it may complain about lack of access rights to resources.
That’s because the id of root user changed, previously it was 1000 and now it’s 100.
If you have only one user created in your LXC, then it’s quite easy to fix it.
Shut down the LXC and check out where it’s root drive is stored, then mount it. In my case it was:
(you do it obviously in your pve host, not lxc container)
mount /dev/pve/vm-102-disk-0 /mnt/tmp/
chown root:root -R /mnt/tmp/*
umount /mnt/tmp
After that you can start your LXC once again and it should be working fine.
what if your container had already some users created?
I guess it’s still possible to untangle all that mess, but I find it’s much faster to just create new privileged LXC and re-install all packages + transfer files from previous installation.
It may sound like something tedious, but just think how much troubleshooting time it will save you.