Adding Cloudflare Analytics to GitHub Pages
There are two ways to add the analytics to GitHub Pages:
Automatic setup
Will work only if you have DNS configured to proxy all request through Cloudflare. It’s on by default, if you are unsure, then look at your DNS configuration, if there is yellow cloud near the DNS entry, then it’s proxied.
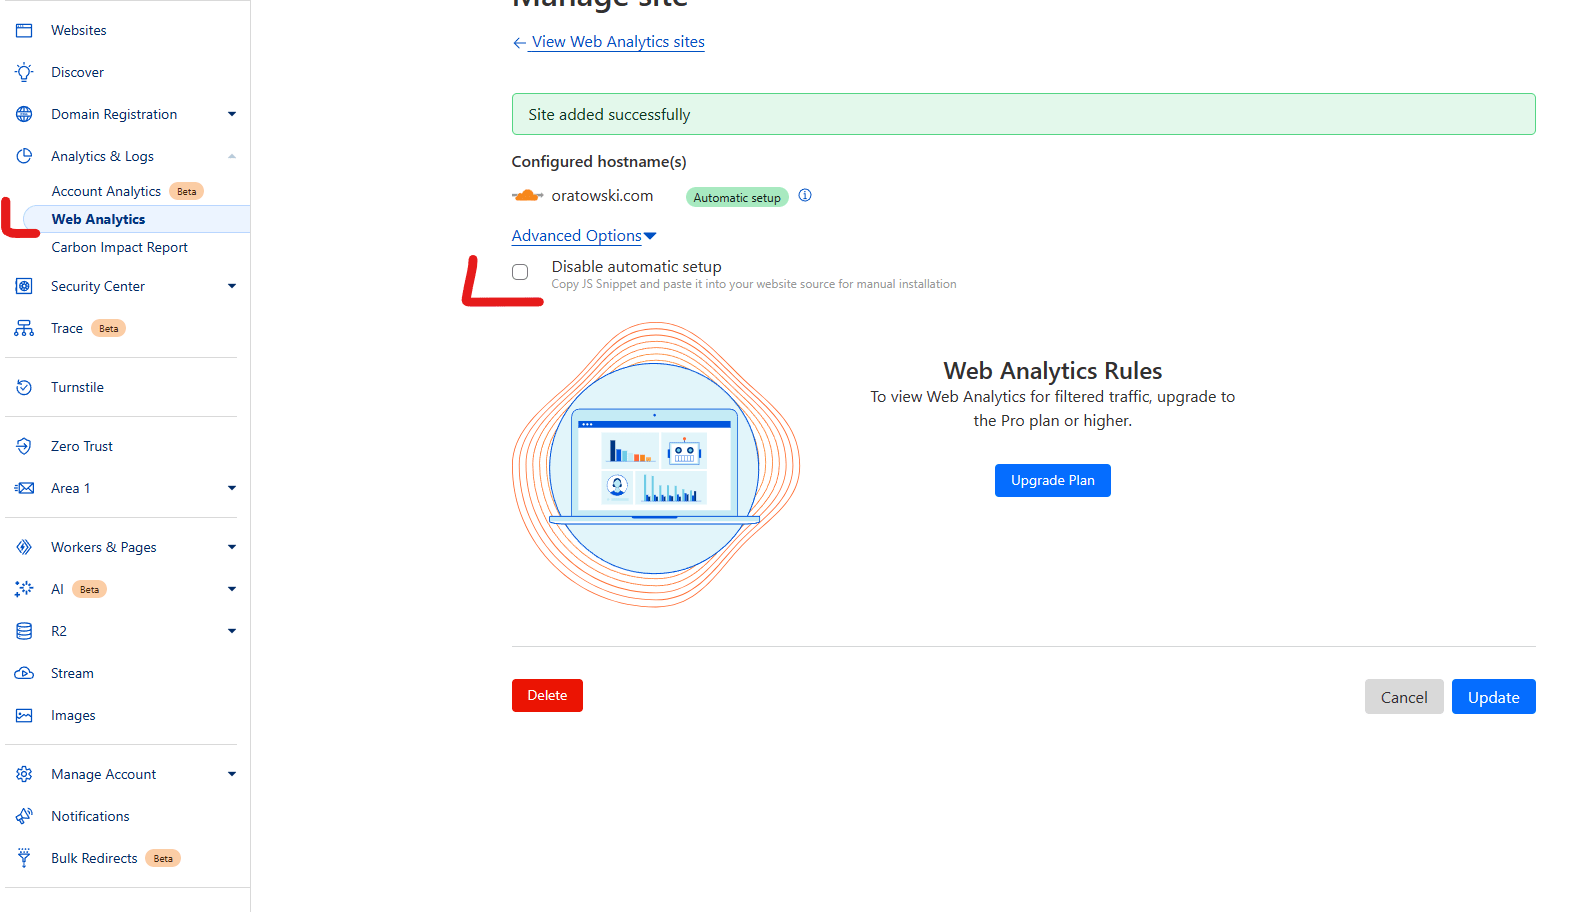
Just enable web analytics and make sure that Disable automatic setup is not checked.

Now when you visit your website and view the source, you should see something like:
<script defer src="https://static.cloudflareinsights.com/beacon.min.js/v84a3a4012de94ce1a686ba8c167c359c1696973893317" integrity="sha512-euoFGowhlaLqXsPWQ48qSkBSCFs3DPRyiwVu3FjR96cMPx+Fr+gpWRhIafcHwqwCqWS42RZhIudOvEI+Ckf6MA==" data-cf-beacon='{"rayId":"83595ded1e106640","r":1,"version":"2023.10.0","token":"245a119a22ad4601a35617a9aaa54beb"}' crossorigin="anonymous"></script>At the bottom of the site body.
Manual setup
If you’re not proxing the requests, then you have to set it up manually.
First check the Disable automatic setup checkbox.
It will show you the code you have to copy-paste to your website source.
Since I use Jekyll with Minima, it means I can’t just paste it into markup file. I have to paste it in the template that has a body tag.
By default it’s not in my git repo, I had to go to the GitHub repository of Minima 2.5 and download this file:
https://github.com/jekyll/minima/blob/2.5-stable/_layouts/default.html
Next I placed it in myRepo/_layouts/default.html and added copied JavaScript to the file.
Once you push the changes you’ve made, the site will rebuild and you should see said JavaScript in your view-source window.